Showing posts with label food. Show all posts

Wednesday, March 13, 2013

Frozen Banana Goodness

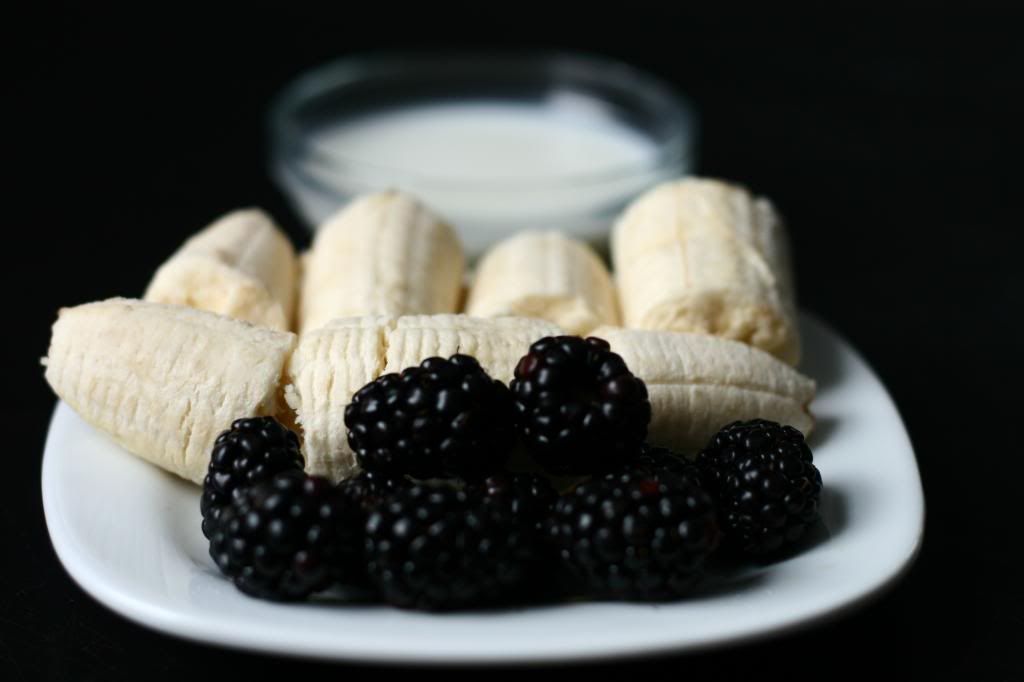
I'm excited for spring to arrive and for the warmth to return. I always love winter, but I'm giddy when the next season arrives. Living in Michigan, my favorite season is usually whichever one is coming next. So in preparation for warmer weather, I thought I'd post one of my favorite warm weather desserts. The best name I've seen for this is Banana Ice Cream. But as there is no actual ice cream in it, that doesn't quite do it justice. The only ingredient you need is frozen bananas, but if you enjoy flavors outside of banana, you can throw them in too. The most recent one I made used all the ingredients below: frozen bananas, blackberries and a little bit of milk.
The reason I love this dessert is that the texture is so creamy. You get the consistency of ice cream without the cream and fat. So if you like the flavor of banana and you like ice cream, then this will be your new favorite dessert. And if banana isn't one of your favorite flavors you can add other yummy things to it. This one I made with black berries, but one of our favorites is to just toss in some strawberry jam. I've done peanut butter, and any fruit would be great. I also throw in a tablespoon of milk for consistency sake. If I don't, my food processor never quite gets past the chopped up frozen fruit stage. 

One other tip I have for you is on how to freeze your bananas. I don't recommend throwing in whole, unpeeled bananas into your freezer. Coming from experience, they are a pain to peel. I find the best method is to peel your banana and break it into 1-2" chunks and spread them out on a cookie sheet. Then place the cookie sheet in the freezer and you have easy to get to goodness. We use our frozen bananas within the same week, but if you won't get to all yours within the first couple weeks of freezing, I recommend storing them in a container once they have frozen on the cookie sheet. 

Hope you enjoy experimenting, and the best part is, it's really good for you!!
 Let me know if you come up with any great tasting variations :)

Monday, March 11, 2013

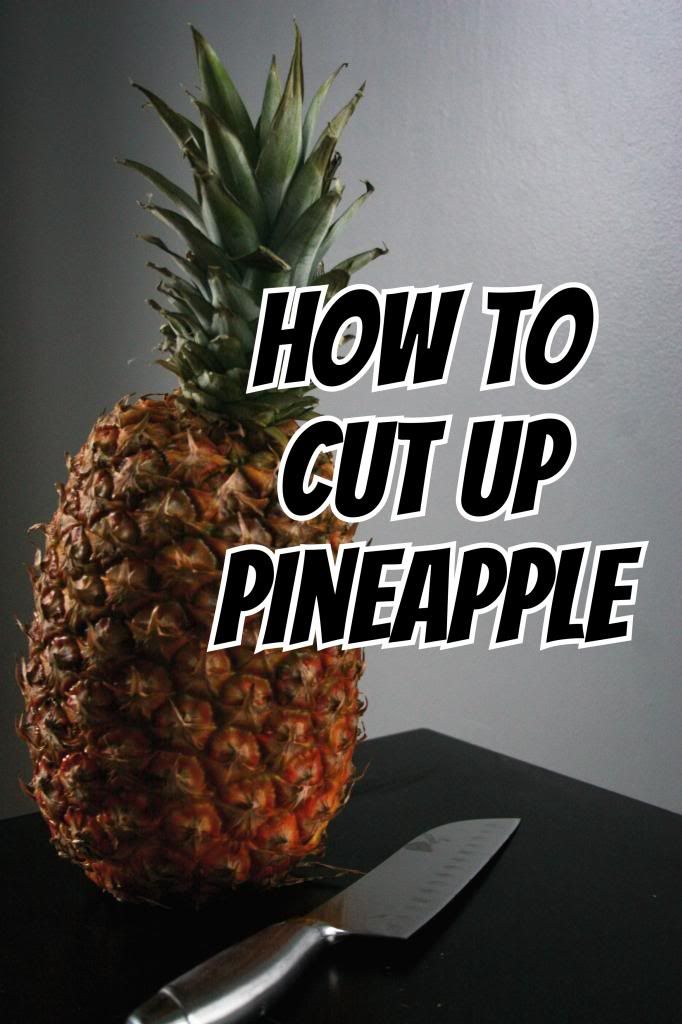
How to Cut a Pineapple

Pineapples can be intimidating. They're prickly, they have that weird thing on their top, and they're juicy as all get out. But do not be afraid. Once you've managed to cut up a pineapple with this method you'll think twice before buying the pre-cut pineapples that cost an arm and a leg.

So here we go.
First step is to lay the pineapple on its side on a cutting board. Then cut off both ends. 
Now we're going to divide and conquer. Leaving the pineapple on its side and exposed on both ends. You're going to cut right down the center, hot dog style for you elementary school paper folders, and the long ways for everyone else. Once in half, you'll take one half and place it flat side down and cut it in half again. Repeat with other side so you have four quarters.
Next you'll cut off the unwanted hard core and the prickly outside. In order to accomplish this, you'll stand one of the quarters on end and cut the pointed part straight off. The part you're cutting off is particularly hard and not very fun to eat. If you don't get it all the first cut, you can always cut more off. Then your going to cut off the prickles. Depending on the size of your pineapple, this usually takes 3 or 4 cuts. You simply cut it like your pealing something. Line the knife up as close to the edge as possible and shimmy it down. You might leave some exterior pieces attached as it isn't a straight line. If that's the case, just cut off any spots you missed.
Once it's cored and pealed, you just need to cut it down to the size you want. I was snacking on them so I just halved them again and diced them into chunks. You can leave them whole for later or cube them or mince them. Whatever floats your pineapple boat. This only takes a couple minutes to do and is not a bad cleanup. It takes about as long as it would take you to peel and slice an apple. So do not be afraid and eat some pineapple!


Tuesday, January 29, 2013

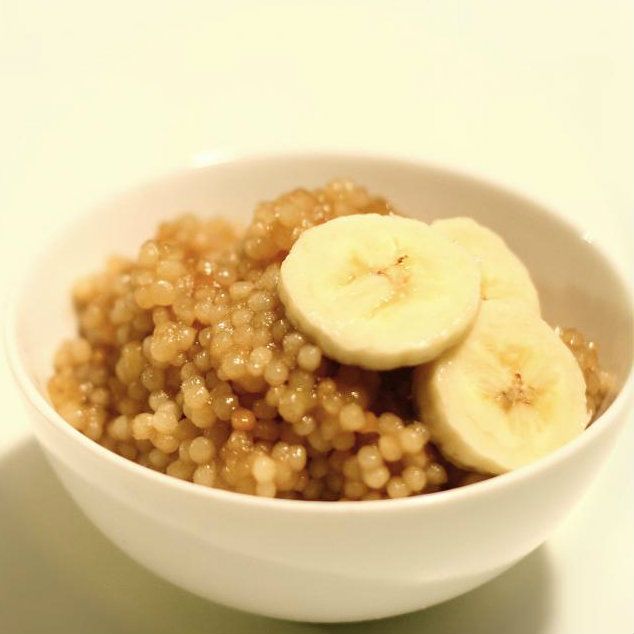
Couscous: Banana and Brown Sugar

Did I mention that couscous is so good! If you haven't tried it yet, you are missing out. This post will end my week of making couscous. If you'd like more couscous recipes you can try basic couscous and risotto style couscous. Those are the savory versions of couscous that I've made, but I wanted to make a sweet version so here it is. I call it Banana and Brown Sugar Couscous. Clever name, right?

Banana and Brown Sugar Couscous           1c.    Pearl Couscous
1¼c. Water
1T     Butter
3T     Brown Sugar
1       Mashed Banana

Bring water to boil and add couscous. Reduce heat to low and allow couscous to simmer for 8-10 minutes (or until all liquid is absorbed). Make sure to stir occasionally so the couscous does not stick to the bottom. After couscous is cooked, melt butter in medium sized frying pan on medium heat. While butter is melting, combine the couscous, brown sugar, and banana. You can combine them in the pot you cooked the couscous in. No need to dirty another dish. Once butter is melted and warm you can pour in the couscous mixture. Spread it as thin as possible. Let sit and fry for a minute or two and then flip or stir it. Cook until brown sugar is melted. And voila! You're done. If you don't like banana you can simply leave it out. Hope you enjoy.


Wednesday, January 23, 2013

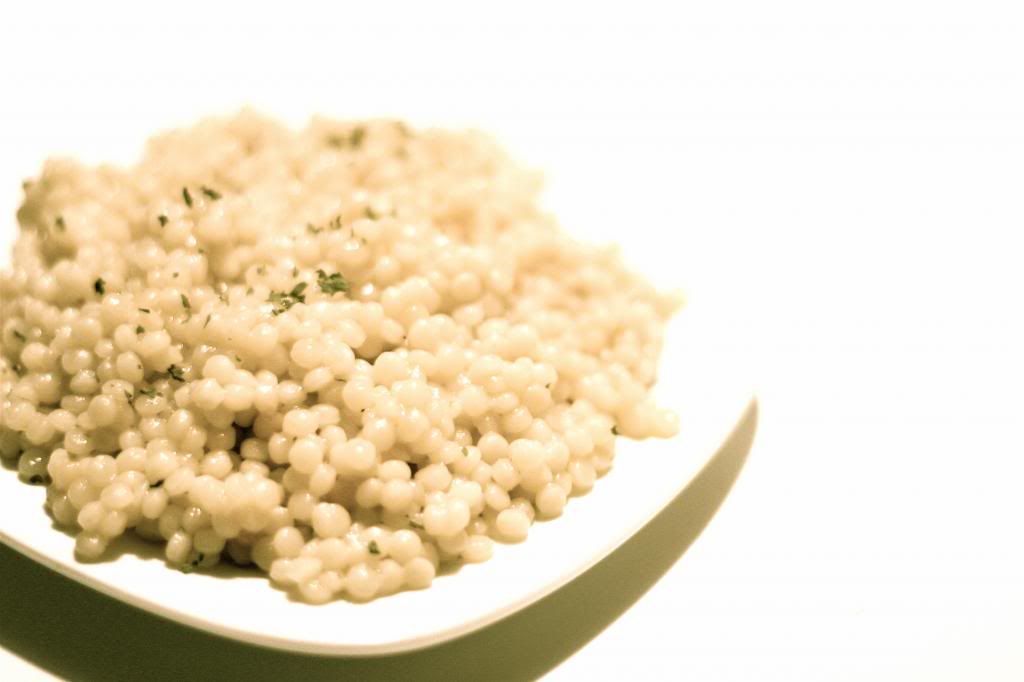
Couscous: Basic

I'm in love with this stuff! Not just any couscous, but Pearl couscous. This stuff will rock your world. The texture alone is enough to do me in. If you've never had it, it would be similar to a tiny round ball of pasta, but with a nuttier flavor. It is delicious. So I'm devoting this week to couscous recipes. Today's recipe is not really a recipe. More a how to cook the stuff. Even at it's simplest form this stuff is amazing.


Basic Couscous
1c.     Pearl Couscous
1¼c.  Water or Chicken Broth 
2 T.    Olive Oil

Heat oil on Medium heat. Add couscous and stir until brown. Should only take a minute or two. Add liquid and turn heat to low. Cover, simmer and stir for 8-10 minutes. Couscous will be ready once all the liquid is absorbed.


This stuff will change you. No joke. It is delicious! I recommend using chicken broth instead of water because of the added flavor. Hope you enjoy.

Related Posts Plugin for WordPress, Blogger...