Friday, March 1, 2013

Hanging clothes out to dry

Sometimes I wish I could walk outside in February in shorts and t-shirt and feel the warmth of the sun. But living in Michigan has put the kaput on that. But I wouldn't trade my four seasoned state for constant warmth. But when I say it like that...No I'm sticking around. Who am I kidding! Nothing compares to spring and fall :)

Anyways, that has very little to do with what I'm actually posting about. This week I'm writing about how we save money with our laundry. Today I'm telling the tale of our drying system. We currently have a washer and dryer, but I haven't used the dryer since January 20th!! Whoot Whoot! During the warm months it's easy. Just hang your clothes outside, but when it's sub-freezing and your underwear would freeze long before it would dry, you have to take other steps. So what I've done is hung some string from the beams in our basement and hang our clothes up down there. Our basement is unfinished so I can stick nails where I want. If you have a finished basement, or a tiny home you can invest in a drying rack. My set-up works ideal because there is an open vent that blows on the clothes when the heat is on. It takes most of a day to dry one load. This probably has a lot to do with the temperature in which we keep our home. We let it drop to 55 when we aren't home and 62 when we are.

There are two reasons why I started hanging my clothes up in the winter.

First, it saves money. For a price explanation click here. They estimate that the average electric dryer costs 30-40 cents per load. If I did 100 loads a year, I'm looking at ~$35. That doesn't sound like much, but I believe every dollar counts. That's $35 I could spend on a vacation or a steak dinner. Money adds up!!

Second, it saves energy. You've probably heard it before, but we do not live on a planet with unending resources. I don't know all the details of how many resources it takes for me to dry a load of laundry, but I do know that it is a step in the right direction.

Hanging your clothes up in your home to dry during winter months may not be for you. And that's okay. But just know that it isn't that bad :)



Wednesday, February 27, 2013

Homemade Laundry Detergent

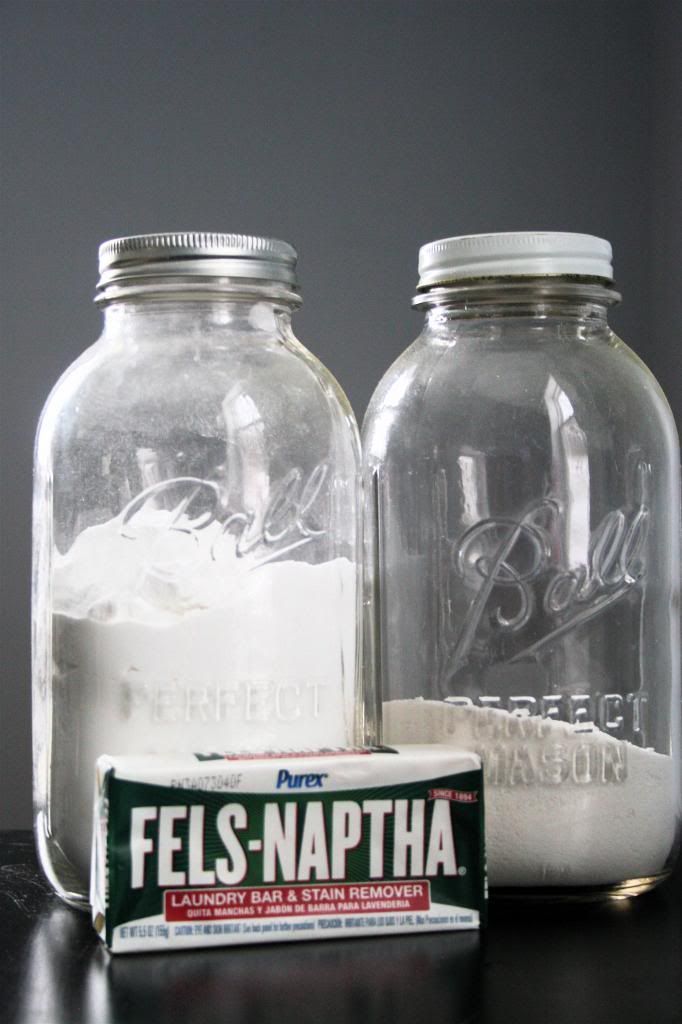
This week is devoted to how we save money on laundry. Today I'm going to show you how to make your own laundry detergent. It's easy and best of all it saves money :) So here is what you will need.


Supplies:

1c. Borax
1c. Washing Soda
2c. Finely Grated Fels-Naptha Soap
Cheese Grater
Large Bowl to combine ingredients
Container to store soap

**I use Arm & Hammer Super Washing Soap. The Borax is just regular 20 Mule Team Borax, and if you can't find the Fels-Naptha, you can use some other form of bar laundry soap. I find all of the ingredients in the same aisle as the laundry detergent.

*********************************************************************************

Step 1: Grate the soap and put in large bowl. **I find that one bar of Fels-Naptha is about 2 cups.

Step 2: Measure out 1 cup of borax and 1 cup of soda into large bowl.

Step 3: Mix ingredients together and put into storage containers!

I use 2 Tablespoons for a large load and I have a top loading washer. And here is the cost breakdown for you analytical people like me :)


Cost Breakdown:
1 box of Baking Soda (6 cups) = $3.99
1 box of Borax (9 cups) = $4.99
1 bar of soap = $1.50

1 Batch = 1 cup Borax + 1 cup Soda + 1 bar of soap
1 Batch = $0.55 + $0.67 + $1.50 = $2.72
You can get about 30 loads per batch which brings the grand total per load to $0.08!

I've been using this for over a year now and have not noticed any difference in the cleanness of my clothes. Also, it only takes a few minutes to make. 

Monday, February 4, 2013

Compost Bin aka Poo Maker

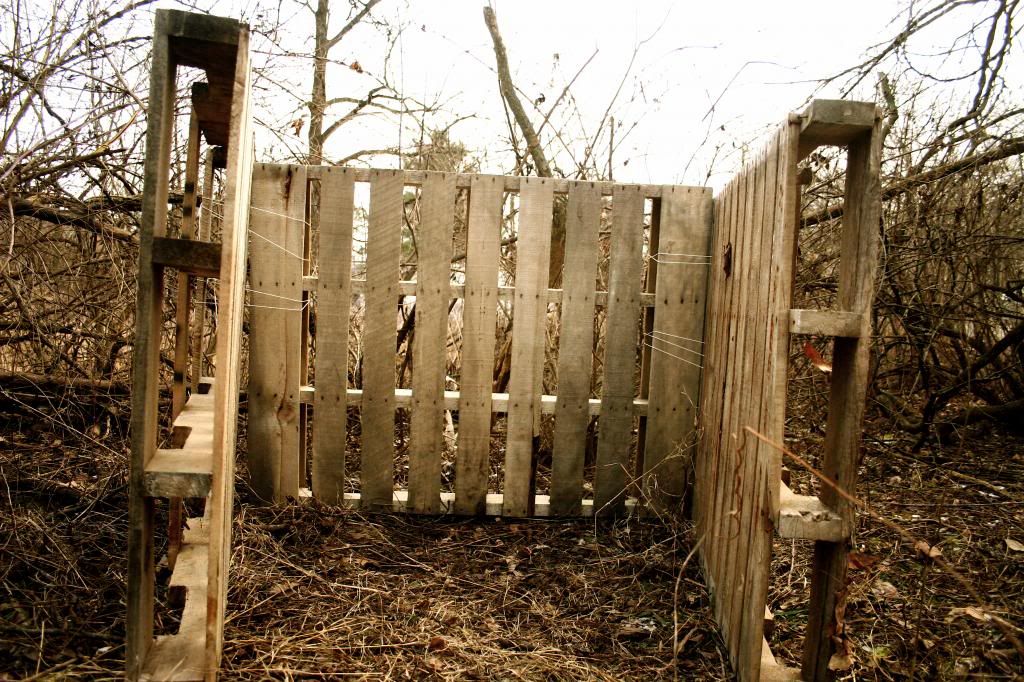
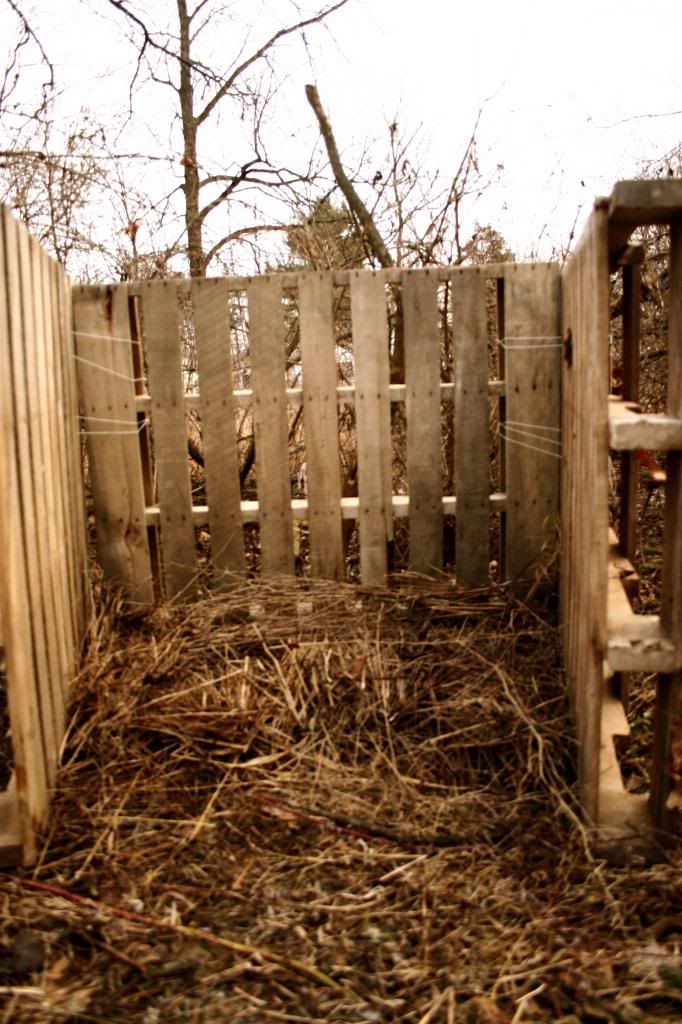
I now have a pile of poo. Just kidding. I now have a pile of sticks with some orange peels and avocado rinds on them. But someday, it will hopefully resemble a pile of poo. Because we all know a pile of poo makes for some great fertilizer, and if you didn't, well now you do. So in order to get me some poo, I went ahead and made a compost bin. Previously, we had just dumped everything in a pile in the woods, but I would like to corral and harness my poo, so I made a compost bin.

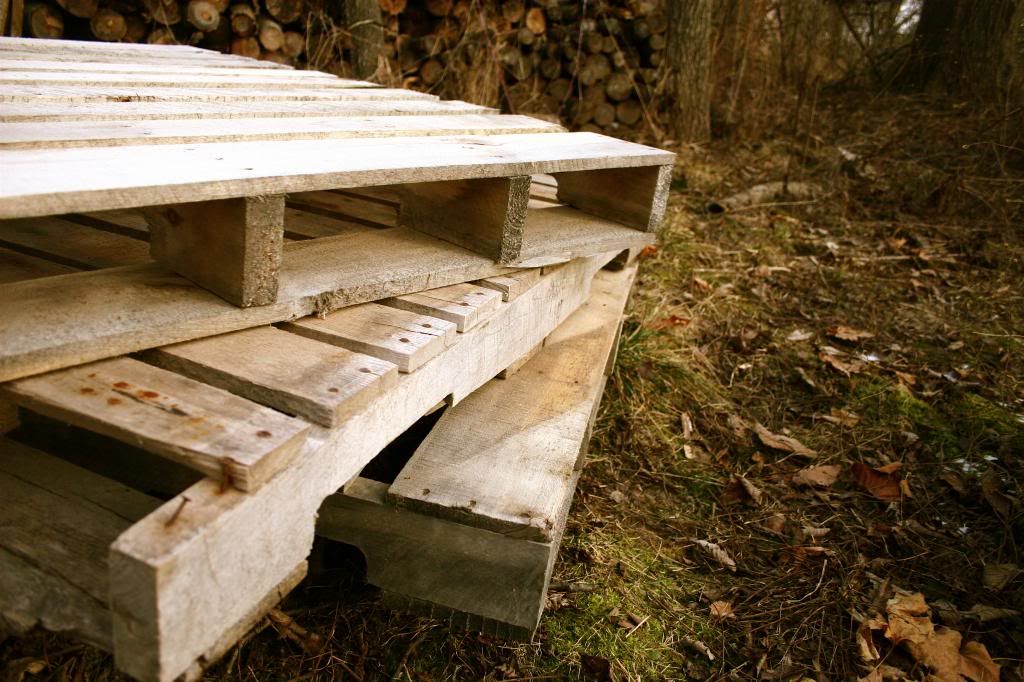
For starters, you'll need some pallets. I got mine from where I work, but if you don't have any lying around, I'd ask the men in your life if they know where you can get some, and if that doesn't work you can ask stores in town. You'd be surprised how many pallets are just laying around. Anyways, this is not a post on how to obtain pallets, so let's get back to the point. Step one: Find three Pallets.
 Once you've obtained your pallets, you will need to secure them together. I simply leaned them against each other and tied the corners together. If you're more ambitious you can use nails, glue, screws or whatever else suits your fancy, but because I like immediate gratification (not to mention it was freezing outside) I tied them together :)
Now I'm going to tell you a little bit about how to make poo. I'm not going into the whole shabang, just a tidbit of information. You'll want to put a 6" layer of brown material down. Brown material is something that is brown and dead. I used dead brush and small sticks. This is an important step because the 6" of brown material allows for air to get under the compost and this speeds along the poo making process.
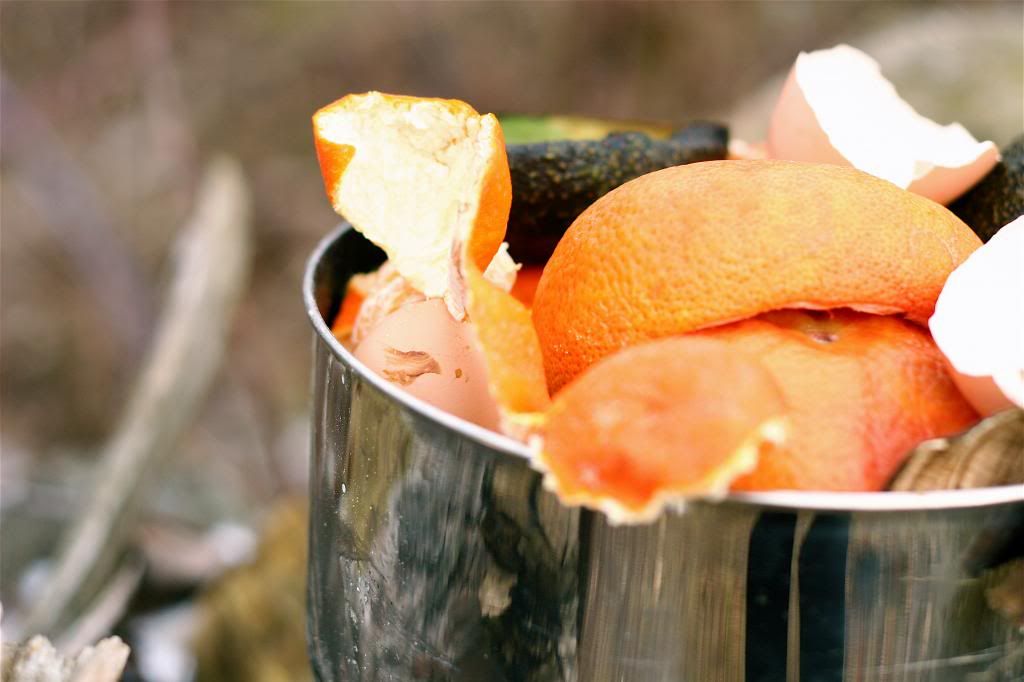
Once everything is secure and you have 6" of brown material, you can add the good stuff, which is the green material. Green material is the fresh stuff. Orange peels, grass clippings, egg shells. I like to keep a bowl under the sink and I fill it with all of our green material. We eat tons of fresh food so we have to empty it quite regularly, which means more compost.
 Now this is no poo yet, but someday we will be there. We need more green material and for the temperature to not be so freezing! I will give an update once the temps get above freezing and we have the beginning of some poo. I look forward to updating you on our poo endeavors.

Wednesday, January 30, 2013

How to Align Photos in Blogger

Let's face it, Blogger is not always the easiest thing to make look how you want it, so I've put together some instructions as to how to make the photos line up all nice and not be randomly strewn across your blog :)

 First I upload the pictures I want into blogger. And then you will need to click the HTML button and view your blog that way.

Once there, it should look something like this, minus the highlighting.

<div class="separator" style="clear: both; text-align: center;">
<a href="https://blogger.googleusercontent.com/img/b/R29vZ2xl/AVvXsEh5BCsdB1jRw2GK2T8sNKwtxMl0UYO5xFgEu7Ggt1RyJz8o6rKeUtbcG2FeQrDUFXm1qglRxQjwGoFH71e_LHpfsNwqU0LwLqDIwJui4UNL3uS6f-iAc-ZcGpPOZ2ZYsSjdoDs8Bzh-9A4/s1600/Harry Potter Premier.jpg" imageanchor="1" style="clear: left; float: left; margin-bottom: 1em; margin-right: 1em;"><img border="0" height="238" src="https://blogger.googleusercontent.com/img/b/R29vZ2xl/AVvXsEh5BCsdB1jRw2GK2T8sNKwtxMl0UYO5xFgEu7Ggt1RyJz8o6rKeUtbcG2FeQrDUFXm1qglRxQjwGoFH71e_LHpfsNwqU0LwLqDIwJui4UNL3uS6f-iAc-ZcGpPOZ2ZYsSjdoDs8Bzh-9A4/s320/Harry Potter Premier.jpg" width="320" /></a></div>
<br />
<div class="separator" style="clear: both; text-align: center;">
<a href="https://blogger.googleusercontent.com/img/b/R29vZ2xl/AVvXsEjHQSCyWfBwmI5FFJtaW6IehmNPvIbFT2bhOaIAFfggoQtnNCtMe4FGsDsBzadcvdbcpWOxFVfPfIYj1wodNCzApD0J1pVxo6C_axBcSuMMP7M0oXiUsQlgiDhSlXkQx6oz0EoYyPikKqE/s1600/Circle Skirt.jpg" imageanchor="1" style="clear: left; float: left; margin-bottom: 1em; margin-right: 1em;"><img border="0" height="211" src="https://blogger.googleusercontent.com/img/b/R29vZ2xl/AVvXsEjHQSCyWfBwmI5FFJtaW6IehmNPvIbFT2bhOaIAFfggoQtnNCtMe4FGsDsBzadcvdbcpWOxFVfPfIYj1wodNCzApD0J1pVxo6C_axBcSuMMP7M0oXiUsQlgiDhSlXkQx6oz0EoYyPikKqE/s320/Circle Skirt.jpg" width="320" /></a></div>
<div class="separator" style="clear: both; text-align: center;">
</div>

 Next you will want to go to the bottom of the text and enter this code. You can simply copy and paste it from here.

<table>
<tr>
<td><img src="URL" width="350" /></td>
</tr>
</table>


Once you've done that you will copy the blue highlighted part from the first section and paste it over the yellow highlighted part. The blue highlighted part is the URL for your photo. It will start with http:// and end with .jpg. 

When you are done, the bottom part will look like this:


<table>
<tr>
<td><img src="https://blogger.googleusercontent.com/img/b/R29vZ2xl/AVvXsEh5BCsdB1jRw2GK2T8sNKwtxMl0UYO5xFgEu7Ggt1RyJz8o6rKeUtbcG2FeQrDUFXm1qglRxQjwGoFH71e_LHpfsNwqU0LwLqDIwJui4UNL3uS6f-iAc-ZcGpPOZ2ZYsSjdoDs8Bzh-9A4/s1600/Harry Potter Premier.jpg" width="350" /></td>
<td><img src="https://blogger.googleusercontent.com/img/b/R29vZ2xl/AVvXsEjHQSCyWfBwmI5FFJtaW6IehmNPvIbFT2bhOaIAFfggoQtnNCtMe4FGsDsBzadcvdbcpWOxFVfPfIYj1wodNCzApD0J1pVxo6C_axBcSuMMP7M0oXiUsQlgiDhSlXkQx6oz0EoYyPikKqE/s1600/Circle Skirt.jpg" width="350" /></td>
</tr>
</table>
Once you've copied and pasted, you can delete the original html from the uploaded photos, otherwise you'll have double photos. 

The size of these photos is specific to my blog, so if the photos are either too big or small you can adjust them in the HTML where it says width="350". Just change it until you get it how you want. I go back and forth between preview and the post.

Also, if you want more than two photos next to each other, you need to copy the purple part and paste it right below it. The original code only had two spots for photos, and this one is for three. You can do as many as you'd like, you'll just need to change the width, so they all fit.
<table>
<tr>
<td><img src="URL" width="350" /></td>

</tr>
</table>

Also, I keep a word document of all of the helpful HTML codes, so that next time I don't have to go find the post, I can just copy from the word document and go from there. If you have any questions let me know, and I hope this works for you!!

Tuesday, January 29, 2013

Couscous: Banana and Brown Sugar

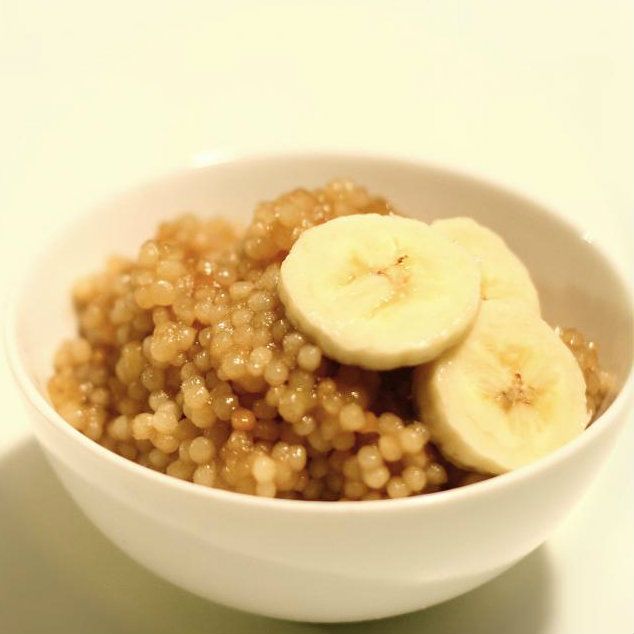
Did I mention that couscous is so good! If you haven't tried it yet, you are missing out. This post will end my week of making couscous. If you'd like more couscous recipes you can try basic couscous and risotto style couscous. Those are the savory versions of couscous that I've made, but I wanted to make a sweet version so here it is. I call it Banana and Brown Sugar Couscous. Clever name, right?

Banana and Brown Sugar Couscous           1c.    Pearl Couscous
1¼c. Water
1T     Butter
3T     Brown Sugar
1       Mashed Banana

Bring water to boil and add couscous. Reduce heat to low and allow couscous to simmer for 8-10 minutes (or until all liquid is absorbed). Make sure to stir occasionally so the couscous does not stick to the bottom. After couscous is cooked, melt butter in medium sized frying pan on medium heat. While butter is melting, combine the couscous, brown sugar, and banana. You can combine them in the pot you cooked the couscous in. No need to dirty another dish. Once butter is melted and warm you can pour in the couscous mixture. Spread it as thin as possible. Let sit and fry for a minute or two and then flip or stir it. Cook until brown sugar is melted. And voila! You're done. If you don't like banana you can simply leave it out. Hope you enjoy.


Friday, January 25, 2013

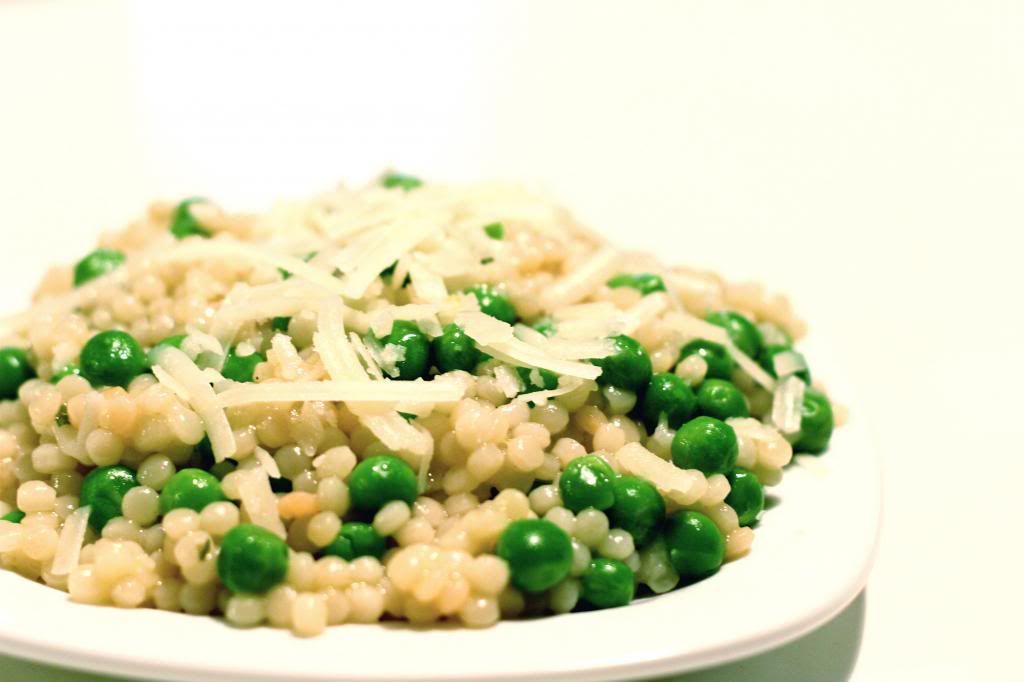
Couscous: Risotto Style

Risotto = Awesome
Couscous = Awesome
Therefore, Risotto Couscous = Double Awesome. If you need more explanation let me know, but I'd trust me on this one and would recommend you make some immediately.

So here's the recipe.                    
Risotto Couscous
2c.     Pearl Couscous
2½c.  Chicken Broth (boiling)
2c.     Peas (frozen or fresh)
4T     Olive Oil
½c.    Parmesan Cheese
4 cloves of garlic
1 medium onion
salt and pepper to taste


In a heavy pan, heat the olive oil on medium heat. Add chopped up onion and garlic, and saute until slightly caramelized. Add couscous and cover with olive oil. Cook until couscous is slightly brown, 1-2 minutes. Add Chicken Broth, turn heat to low and simmer covered for 8-10 minutes, or until couscous is tender. Add more liquid if necessary. Stirring regularly so couscous does not stick to the bottom. Once couscous is cooked, add salt and pepper to taste. Remove from heat and stir in peas and Parmesan until cheese is melted. And just like that, you're done! You've created deliciousness. Hope you enjoy.


Wednesday, January 23, 2013

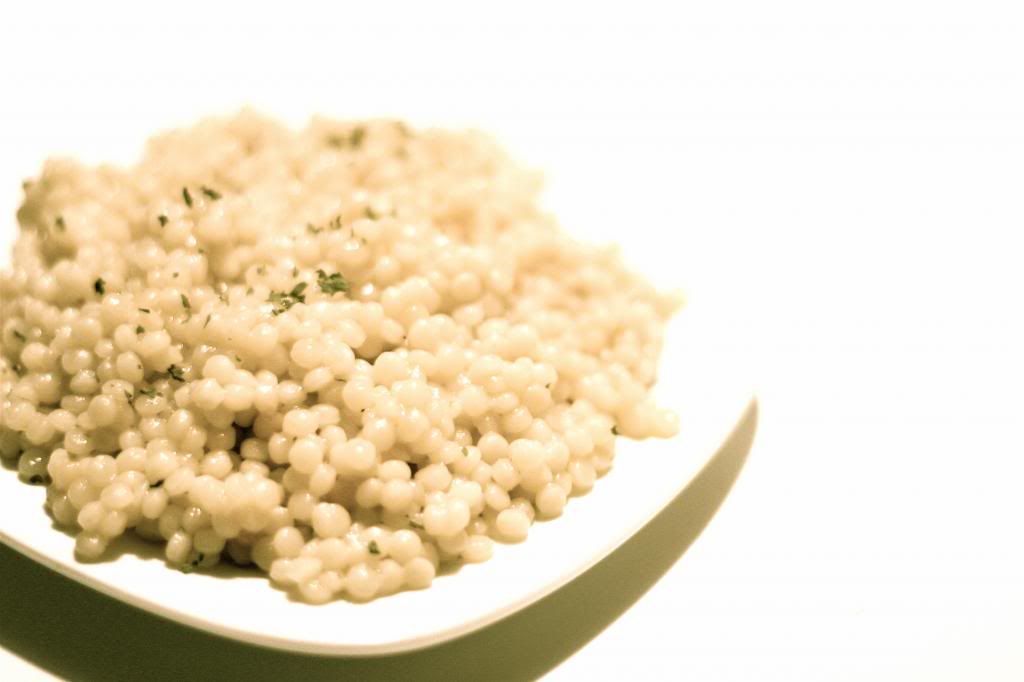
Couscous: Basic

I'm in love with this stuff! Not just any couscous, but Pearl couscous. This stuff will rock your world. The texture alone is enough to do me in. If you've never had it, it would be similar to a tiny round ball of pasta, but with a nuttier flavor. It is delicious. So I'm devoting this week to couscous recipes. Today's recipe is not really a recipe. More a how to cook the stuff. Even at it's simplest form this stuff is amazing.


Basic Couscous
1c.     Pearl Couscous
1¼c.  Water or Chicken Broth 
2 T.    Olive Oil

Heat oil on Medium heat. Add couscous and stir until brown. Should only take a minute or two. Add liquid and turn heat to low. Cover, simmer and stir for 8-10 minutes. Couscous will be ready once all the liquid is absorbed.


This stuff will change you. No joke. It is delicious! I recommend using chicken broth instead of water because of the added flavor. Hope you enjoy.

Related Posts Plugin for WordPress, Blogger...